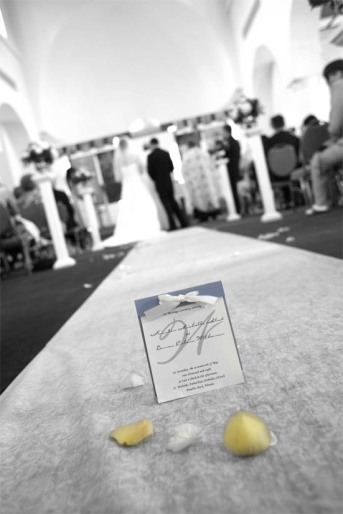
As everyone knows, planning a wedding becomes a labor of love, then a labor of anger, then back to love. There are stresses of items to be booked, flowers to decide on, and not to mention every bridesmaid trying to vicariously plan their wedding through yours. One of the items that needs to be planned is the program. This is always good to help explain any ceremony traditions the guests might not be familiar with or to extend a warm thanks to those who cannot be there. [Photo credits to Cameron H Photography, 2008]
The How-To
A layered program is a nice item for guests to flip through. You will need:
- Card stock (for the back)
- A printer
- High quality printer paper (linen was used above)
- Hole puncher
- Coordinating Ribbon
The hardest part to starting this is deciding what to include. Too much information will seem showy. Too little leaves people bored and stuck with something to hold all during the ceremony. Some ideas of information to include:
- Wedding Party (and a write-up of how they are related/know the bride and groom)
- Ceremony details (timeline or some explanations of rituals)
- A story of how the couple met (helps those plus ones connect more to the bride and groom)
- Acknowledgments (which would include thanking out-of-town guests for making it, extended family, etc.)
- Prayers for those who are no longer with us but are in spirit (grandparents, parents, etc.)
- Sentimental or religious quotes important to the couple or family
To start is the cover. The image above included the couple’s wedding monogram which was repeated on their invitations, place cards, and thank you notes. The cover needs to state the typical who, what, where, and when. The cover can be traditional or modern. This paper is based on US letter paper (8.5″ x 11″). To get the most out of each sheet, the paper was landscaped and allowed for two program pages per prints (trust me– any time-saving tricks help when you are making 150 of them!).
Next is to decide how many pages you will have. With the program being layered, every added pages makes the top pages shorter. This program chose to have four pages. Depending on your font size and printer margins, create guides to go up equal spacing from the bottom. The example below had printer margins of 0.25 and used a half-inch for each page’s writing. The printer margin also allows for colored card stock to show up at the bottom. Don’t forget to leave a half-inch or more for the fold down of the card stock!! Then as you go through each page, the text can become longer. Here is a the last page where you can see the same guides as the first page, but how it has moved down.
Finally, the cutting out is condensed because you can layer three or four pages and use a paper-cutter. I decided to cut off some of the sides as well to make the card stock present on the sides. Once all the pages are cut out, assemble them in the correct order. Cut the card stock in half and fold down the half-inch we left at the top. I used the edge of a ruler to get that perfect edge, but a scorer would work too.
Once the card stock and the pages are lined up, places two holes for the ribbon to slip through (I neglected to get any pictures of this, but it is easy). Then simply tie them together! You now have a beautifully personalized program!


You must be logged in to post a comment.