Archive | Creative Ideas RSS feed for this section

Baby Babble Diaper Raffle

31 Mar

FACT: A baby will go through approximately 3,000 diapers in its first year of life.

Although it is really fun to look at all those little onesies and matching bows, the couple would really appreciate the necessities too.  Just think of the diapers as a necessary accessory– kind of like earrings, you feel naked if you forgot them.

One fun way to get the diapers the couples will need is a diaper raffle.

Baby Raffle

Surprisingly, if you peruse the internet on this topic, it is pretty controversial.  Some people say it is a great idea and others are vehemently against it.  My take is that as long as the diaper raffle is optional you’re on safe ground.  My opinion changes with other shower ideas like “build-the-library” that is practically mandatory– a’build the library’ shower is where the invite requests that in lieu of a card, the attendees bring a baby book.  I came to learn that baby books from baby stores are very *ahem* overpriced), and sadly made me wish I had spent less on the main gift (TIP: if you get invited to a build-the-library shower, go to Walmart or Goodwill to get a cheaper book.  Stay away from the big box baby stores for books!).

Below is the card that was included with the invitations.  It is worded as to imply the optional part.  At the actual party, most people did understand it was optional, but most chose to participate.

Baby Shower Diaper Raffle Ticket

The sign for the table was framed out from very affordable IKEA picture frames.  We decorated the corners of all the picture frames with tissue paper flowers and raffia.  Decorating the inexpensive frames helped match the theme and make the frames look more expensive (see the picture above for the frame).

Baby Shower - Diaper Raffle Sign1

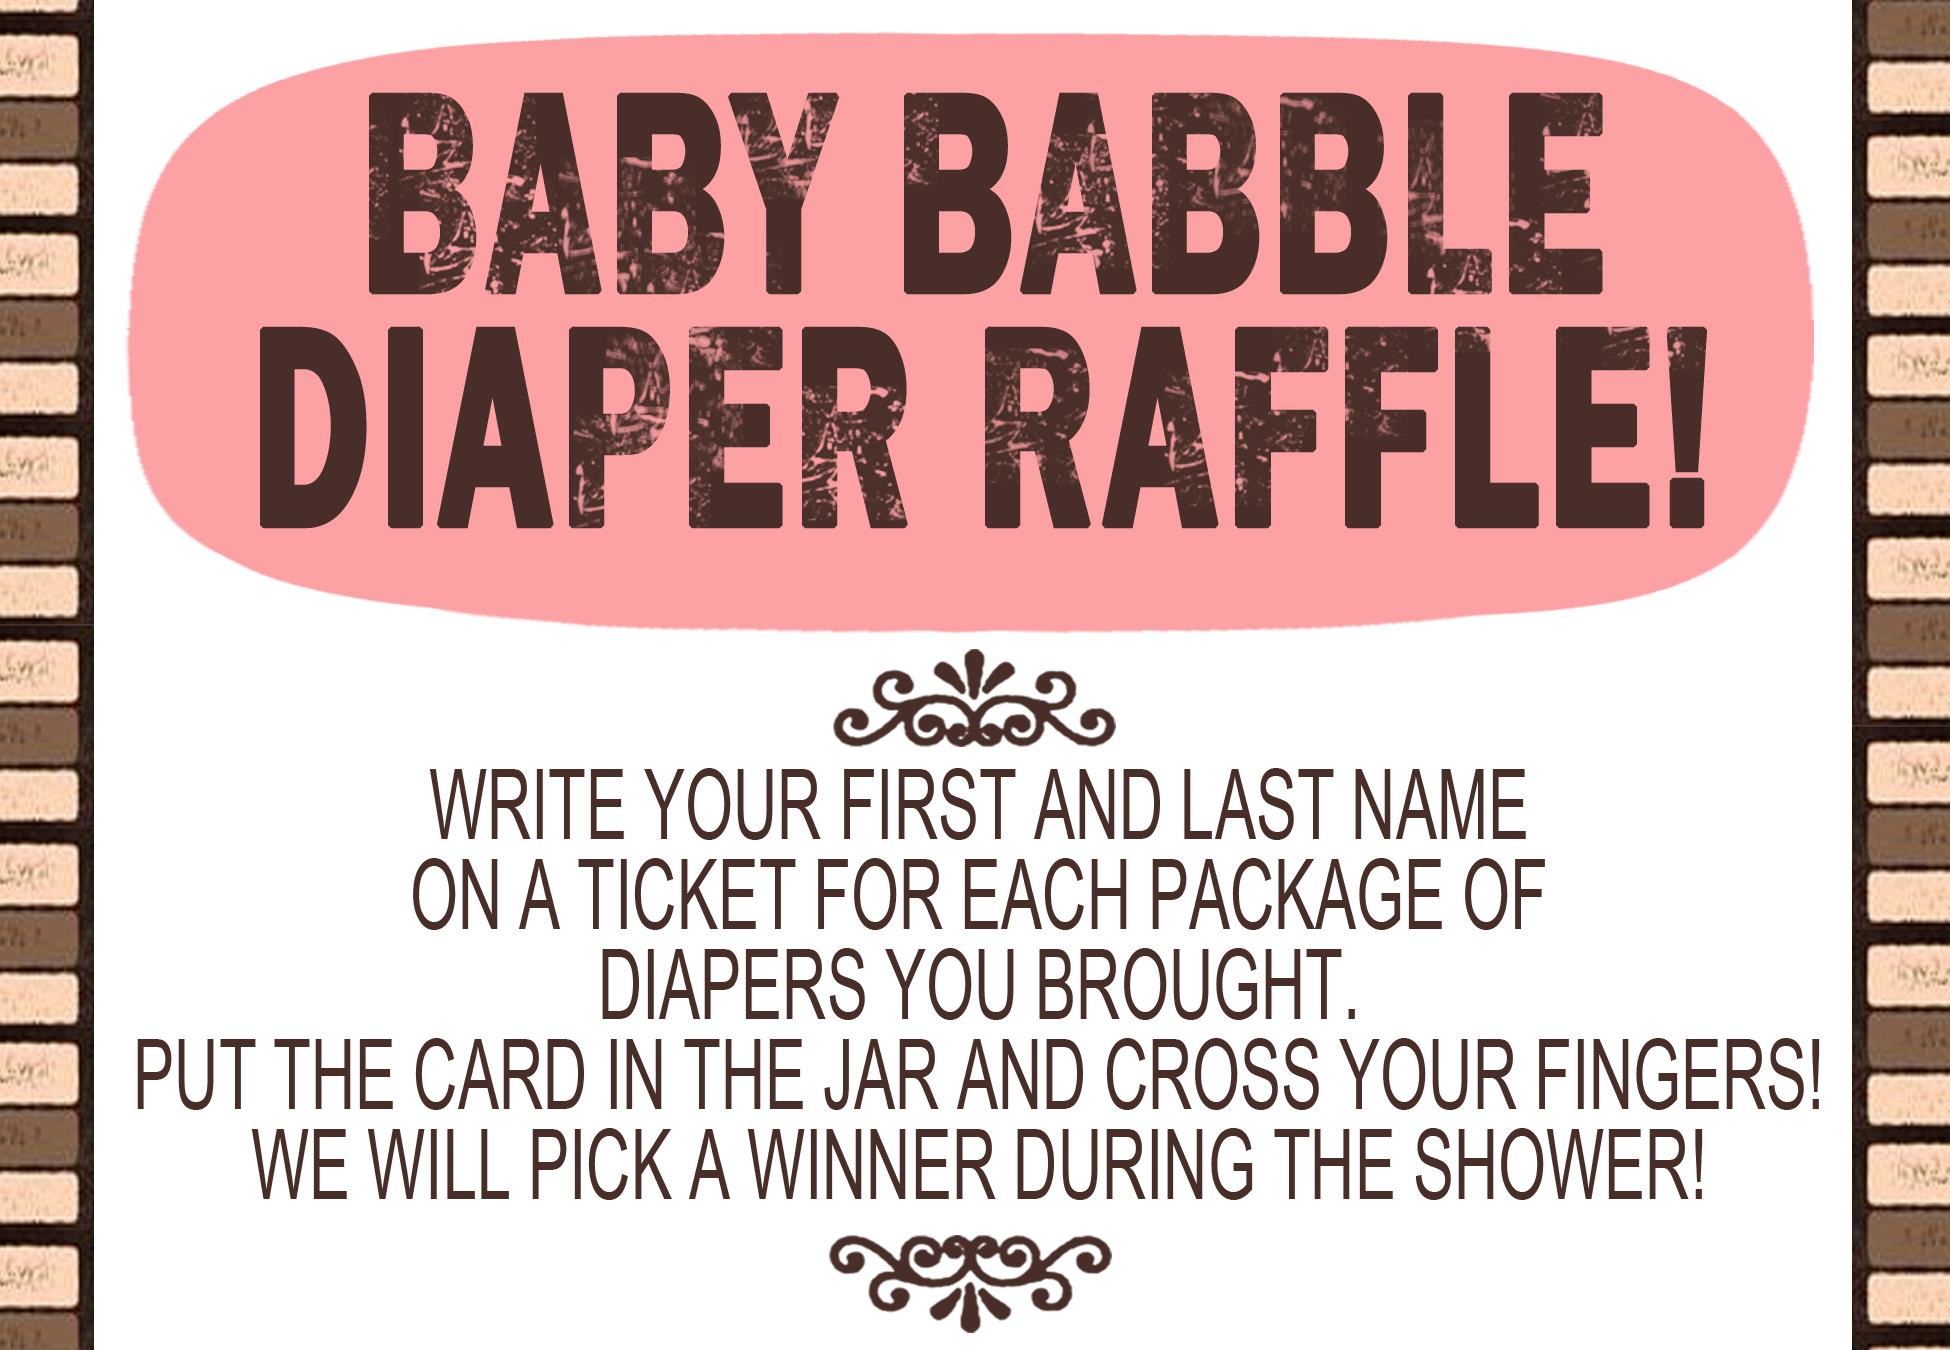
The raffle ticket stub was printed at 2×3, the size of a business card.  They were laid out right next to the sign.  Do not forget to leave pens for people to fill out the tickets!  We bought a pack of cheap pens from a big box store and left three or four at every station.
Baby Shower Diaper Raffle Ticket STUB

The drawing was done by the niece of the mom-to-be.   The prizes can be practically anything, but make it somewhat substantial– diapers are pricey!  The prizes for this raffle were a $30 gift card to Publix and a $30 gift card to Wal-Mart.  We had two winners mostly because how many people we invited (we also had three games that had prizes, so we didn’t want to go broke!).

As a note, the couple had to only buy one pack of newborn and had to buy their first pack of diapers when the baby was 6 months!  Well worth the extra effort to do this a shower


Eat, DRINK, and Be Merry!

8 Dec

Candy Cane Vodka

Candy Cane Vodka 3

‘Tis the season for families, decorating, giving back…and holiday parties.  Nothing like acting casual around your neighbors/coworkers while trying to ensure you did not indulge into much eggnog.  A majority of parties are held at people’s homes.  Being at someone’s house automatically started the crafty-Christmas mind spinning.  What to bring for a hostess gift?!  It needs to be something different to show people how you appreciate them and their kindness for opening up their home to you.  Wine is always good, and you can dress up the bottle with personalized tags or little wine bottle outfits.  Another idea is to make your our infused liquor.  It’s actually ridiculously easy.  And you know what they say, ‘once you go infused, you never go back.’

The How-to

This is so easy and cost-effective if you have multiple recipients.

You will need:

  • Vodka (make sure to use mid-shelf or top-shelf– it does make a difference) Any size depending on how many bottles you are making
  • Candy Canes
  • A funnel for putting the vodka into the bottles
  • Bottles that can be sealed without leaks
  • Printer for labels
  • Paper and full-page labels
  • Any holiday doo dads to decorate the finished product

Candy Cane Vodka 1

Begin by measuring your vodka and pouring it into the containers.  The glass flask was purchased at the Container Store and holds 8.5 oz.  There are some recipes out there that will tell you to pulverize your candy canes into a dust then add that to your vodka and shake.  That is a fast alternative, but this recipe is more of a day or two recipe.

For this recipe, I found that I used 5-6 candy canes per 8 oz.  You will need to taste them to ensure there is enough sweetness to peppermint ratio.  It is all about personal preference, so you can increase or decrease as required.  Using 6 candy canes in my bottles created a sweeter drink that actually tasted pretty darn good by itself.

Open the candy canes and break apart.  Place into the glasses and THEN add the vodka.  I did it the other way around and I neglected to remember that whole water displacement thing and had to pour some vodka out (hence the second bottle seen below).  Also, when the candy canes get wet from the vodka, they are very sticky and hard to move around.

Candy Cane Vodka 2Once you have all your candy canes and vodka together, you’re done.  No, seriously.  That is all that needs to happen for this awesome homemade gift.  The process of the candy canes dissolving is relatively quick.  The flask was made about 20 minutes before the bottle on the right. I did just let them sit over night and agitated them a few times to make sure there were no pieces left inside.

Next, add a label to personalize the bottle.  I went with a rustic theme because it seemed to fit my homemade vibe for this project.  Here is the label and tag I created.  The fonts are available at DaFont.com (Main titles, text).

Candy Cane Vodka Label

Candy Cane Vodka Label TagI also picked up some little ornaments from a big box store to add a little flair to my bottle.  All in all, this project is super easy and economical.  I plan on getting about 8 presents done with one 1.75 liter bottle and 48 or so candy canes.  I might pair this gift with two hot chocolate packets just for something extra and to encourage them to try it right away.  Oh- and did I mention that I slightly abhor liquor and this I actually enjoy it straight with nothing added.  I can only imagine how amazing the coffee or hot chocolate version tastes!

Candy Cane Vodka 4

For more recipes that you could include, visit here.


Birthday Breakfast!!

9 Sep

My DH works nights and it stinks.  It stinks even more because he slept for most of his birthday.  So, in order not to totally miss his birthday, I decided to make breakfast his “cake”.  I scoured Pinterest and the internet and found Cake Batter Pancake recipe.  Since I was looking for a recipe I could accomplish after work, it utilizes pancake mix.  There are recipes that include more homemade recipes.

I kid you not, these pancakes are not too sweet, and are absolutely delicious.  We even had some leftover which are still amazing heated up!

And, after all, isn’t everything better with sprinkles?

The How-to

Pancakes

1   cup Original Bisquick® mix
1   cup Betty Crocker® SuperMoist® yellow cake mix
3  tablespoons candy sprinkles
1  cup milk
1  teaspoon vanilla
2  eggs

Glaze and Garnish

1  cup powdered sugar
1 1/2  teaspoons milk
1/2  teaspoon vanilla
Additional candy sprinkles

Halloween…in May?

26 May

Well, bear with me on this one. Hubs and I joined a kickball league, and we recently had a theme night where each team had to dress up. Our theme was “Paranormal Activity”. We all dressed up as ghosts, but we dressed up as silly ghosts– we had an Elvis ghost, pig ghost, clown ghost…you get the point. It was an easy and cheap costume for a bunch of working adults –we all just threw white sheets over us ($5.00 twin flat sheet at Wal-Mart) and worked with what we had at home (it’s very hard to find cheap costumes in May). In fact, we actually won the prize for best group costume! We also had a team member all dressed in black running around pretending to “capture” us on videos and audio recorders. Anyways, enough of the background, I went as a Censored Ghost. Here is a mini tutorial that might be useful when Halloween actually comes around….five months from now.

The How-to

First is to use a word processor to write the words to cut out. I reversed them because I did not want to see the black line when I did cut the letters out. I do have a Cricut, but I was at work doing this last-minute (theme night was that night), and it’s not really that many letters. Print two for both areas for a girl and only one for a guy.

Next, I cut the letters out and glued them on to black foam core. I held a measuring stick up to make sure the square would be large enough against my own body.

Finally, using my flat sheet, I glued Velcro on the sheet and the sign with fabric glue. I put the bottom sign at a slight angle. This whole costume cost less that $10. It only cost that much because I had to buy the Velcro– but if you just directly glued it on, it would be cheaper.

Layered Wedding Program

29 Apr

As everyone knows, planning a wedding becomes a labor of love, then a labor of anger, then back to love.  There are stresses of items to be booked, flowers to decide on, and not to mention every bridesmaid trying to vicariously plan their wedding through yours.  One of the items that needs to be planned is the program.  This is always good to help explain any ceremony traditions the guests might not be familiar with or to extend a warm thanks to those who cannot be there. [Photo credits to Cameron H Photography, 2008]

The How-To

A layered program is a nice item for guests to flip through.  You will need:

  • Card stock (for the back)
  • A printer
  • High quality printer paper (linen was used above)
  • Hole puncher
  • Coordinating Ribbon

The hardest part to starting this is deciding what to include.  Too much information will seem showy.  Too little leaves people bored and stuck with something to hold all during the ceremony.  Some ideas of information to include:

  • Wedding Party (and a write-up of how they are related/know the bride and groom)
  • Ceremony details (timeline or some explanations of rituals)
  • A story of how the couple met (helps those plus ones connect more to the bride and groom)
  • Acknowledgments (which would include thanking out-of-town guests for making it, extended family, etc.)
  • Prayers for those who are no longer with us but are in spirit (grandparents, parents, etc.)
  • Sentimental or religious quotes important to the couple or family

To start is the cover.  The image above included the couple’s wedding monogram which was repeated on their invitations, place cards, and thank you notes.  The cover needs to state the typical who, what, where, and when. The cover can be traditional or modern.  This paper is based on US letter paper (8.5″ x 11″).  To get the most out of each sheet, the paper was landscaped and allowed for two program pages per prints (trust me– any time-saving tricks help when you are making 150 of them!).

Next is to decide how many pages you will have.  With the program being layered, every added pages makes the top pages shorter.  This program chose to have four pages.  Depending on your font size and printer margins, create guides to go up equal spacing from the bottom.  The example below had printer margins of 0.25 and used a half-inch for each page’s writing.  The printer margin also allows for colored card stock to show up at the bottom. Don’t forget to leave a half-inch or more for the fold down of the card stock!!  Then as you go through each page, the text can become longer.  Here is a the last page where you can see the same guides as the first page, but how it has moved down.

Finally, the cutting out is condensed because you can layer three or four pages and use a paper-cutter.  I decided to cut off some of the sides as well to make the card stock present on the sides.  Once all the pages are cut out, assemble them in the correct order.  Cut the card stock in half and fold down the half-inch we left at the top.  I used the edge of a ruler to get that perfect edge, but a scorer would work too.

Once the card stock and the pages are lined up, places two holes for the ribbon to slip through (I neglected to get any pictures of this, but it is easy).  Then simply tie them together!  You now have a beautifully personalized program!

Double Corked!

25 Mar

So here is another salute to all those hard-earned corks you have lying around in drawers, underneath tables, floating in the pool, on the roof…errr…maybe we shouldn’t mention that night, but, well, you get the drift.  We all have these around, and usually end up tossing them.  However, before you toss this time, take a look at these creative upcycling ideas for cork stoppers.   Going green doesn’t have to be hard– especially when it is accompanied by a nice full-bodied red.  Please follow the links below to the photo owners and tutorials!   Check out the original post Corked! for more ideas!

Hearts!

11 Feb

Valentine’s day is next week! Eek!  Instead of rushing to the store to buy generic chocolates, I want to give my nurse husband (aka my Murse) something a bit more meaningful and specialized.  I racked my brain….and racked it some more….then eventually turned to my trusty pal Pinterest.  I happened to come across Erica’s idea over at Sweet Tooth: ECG Cookies!  I still w0uld call them EKG cookies, but I am a laymen when it comes to anything medical.  These cookies are super cute and will definitely make any nurse (or murse) get a good chuckle.  A tag with “My heart belongs to a nurse” would be a cute touch too!  These would also be great for nurse appreciation or a graduation party. [Photo credit to Sweet Tooth]

DIY Brush Holder

4 Feb

Ever notice how your makeup bag seems to be a bottomless pit of lip-glosses-long-forgotten? That’s where my mascara went! There’s that button that came off! How’d that tennis racquet get in there?? Okay, maybe that last one is a stretch, but there are simple steps to disarm the bag-that-time-forgot. One way to start is to compile all those makeup brushes. Who hasn’t mercilessly dug through a bag and inevitably always ends up pulling out the wrong one? Taking a toothbrush holder is an easy (an attractive) way to keep your brushes out of the way and always have them on hand. Another good aspect is the whole thing can be easily put in a cabinet without falling all over. So, with the makeup brushes conquered, maybe I can finally finish a whole lip gloss without losing it!

Corked!

28 Jan


And you thought the fun only started when you popped that cork!  Now you can upcycle all your months of hard partying (…er…work) by reusing all your old corks as wine glass charms for your guests!  A Charmed Life has a wonderful tutorial (with pictures!!) on their website that will guide you through how to create these little jewels.  Their final product is pictured above.  So, remember, when you open your next bottle for a party, you are technically saving the environment.  You rock.

Teacher Appreciation

21 Jan

Imagine having 30 kids that constantly are looking to you for six hours a day for 180 days every year.  No, you are not part of the Duggar family, you are a teacher.  One of those hard working, under appreciated breed of men and women that day in and day out give it their all to better our future, one child at a time.  Every year in May, Teacher Appreciation Day comes around.  Here are some ideas that let your child’s teacher know they are doing a great job.

Also, if you can read this, don’t forget to thank a teacher!!